NorthClad® EF Series Installation Notes:
Product description and Intended Application
Prodema on Yarrow Bay Marina NorthClad® EF Series panels are designed to be used as external wall cladding supported on metal hat sections to form a “rainscreen”. Although the panels will significantly discourage the entry of surface water, some water will enter the ventilated, drained cavity behind (through the joints between the panels), and must be repelled by the weather resistant barrier (WRB, specified elsewhere).
The amount of water that will enter is a function of the pressure drop across the rainscreen to the cavity. The cladding functions as a protection layer for the building waterproofing by providing durable, visually appealing surface.
When designing a rainscreen, it is imperative that the designer and contractor are clear about where the drainage plane and actual waterproofing are located. The drainage plane is not at the face of the cladding, but at the face of the sheathing.
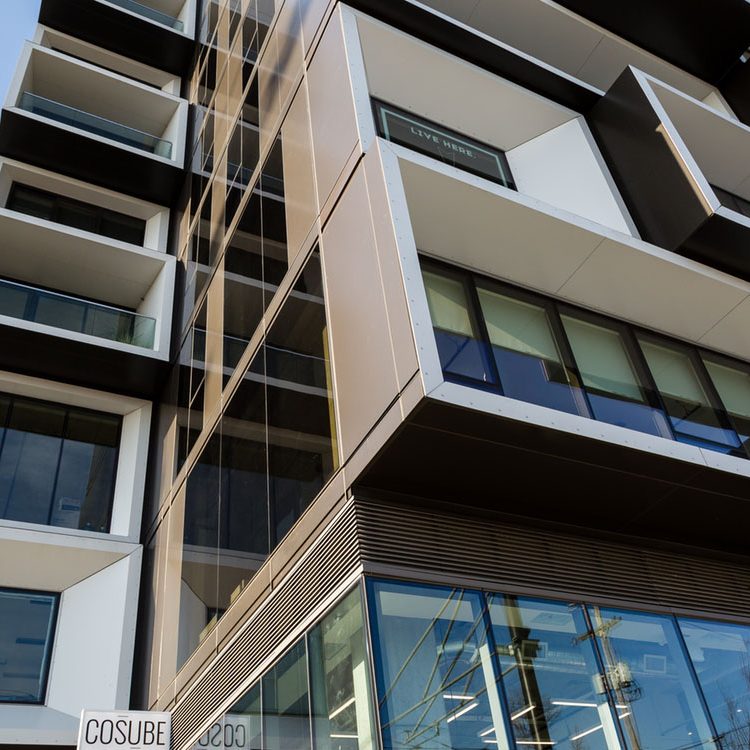
ADDITIONAL NOTES & DETAILS
All flashing for openings, sealants, and the air barrier must be continuous across the various penetrations for doors, windows, and vents, etc. Integrity of the WRB design can be exhibited by water testing the walls when covered with a weather resistant barrier (WRB) prior to the application of the rainscreen panels and their support system. The system cannot be reliant on the face panel (NorthClad® EF Panel) for watertightness.
Drained, back ventilated rainscreen design has been proven successful throughout the world and may be appropriate for your project. Following are some requirements and information for your consideration.
External Wall Cladding
When fixed in accordance with the manufacturer’s recommendations using engineered attachments, the panels will withstand typical wind loads and transfer these loads to the supporting structure. Note that the panels are not designed to contribute any structural stability to the building.
The free flow of air to the cavity behind the panels requires the air barrier to be fully responsible for moderating air movement across the drainage plane. The net effect is that the wall needs to be designed to be structurally complete and air-tight aside from the application of the NorthClad® EF Panel and its support system.
Fire Resistance
NorthClad® EF Panels have different fire resistance ratings depending on the product. Be sure to determine the class of material required so the proper panel can be provided.
Design consideration should be given to any combustible material behind the cladding that may be exposed during a fire. Determining the combustibility of any materials adjoining the ventilated cavity (e.g. Insulation, sheathing panels, breather membranes etc.) is the responsibility of the project designer. Cavity barriers may be required under relevant building regulations and technical standards. Additional ventilation may be required above and below these cavity barriers.
The NorthClad® EF series rainscreen system cannot be considered as contributing to the fire resistance of any external wall or load bearing structure.
Cladding System Design
NorthClad® recommends that the designer design the building waterproofing utilizing the full technical support of the weather resistant barrier (WRB) manufacturer.
Note that special care needs to be taken at all the discontinuities in the membrane (penetrations, flashing, etc). Once the WRB is complete and intact (including all transitions to windows, doors, foundation, and various penetrations) the installation of the rainscreen cladding can begin.
Delivery, Site Handling and Storage
When your order arrives, take care to inventory and inspect each panel and all accessories; note any damage to panels, packaging, or accessories. If there are signs of damage, note the bill of lading at the time of delivery and notify your NorthClad® representative immediately. Failure to do so can result in difficulty filing a freight claim.
Panels should be transported on pallets provided by the manufacturer and should be lifted off of any stack individually, taking care that they do not scrape adjacent panels.
Stacked panels should be stored vertically on a clean, flat surface or on pallets with supports spaced at a maximum of 12 inches on center. Panel edges must be aligned for full support. Stack height may be limited by the overall lifting weight. All horizontal surfaces including pallets should be covered with a clean membrane or board to protect the bottom panel in the stack. Unwrapped stacks should be covered with a plastic sheet to protect against moisture and dirt. Baling bands should be removed after delivery.
Panels must be stored in a cool, dry, and well-ventilated covered area.
Preparation of Panels for Use
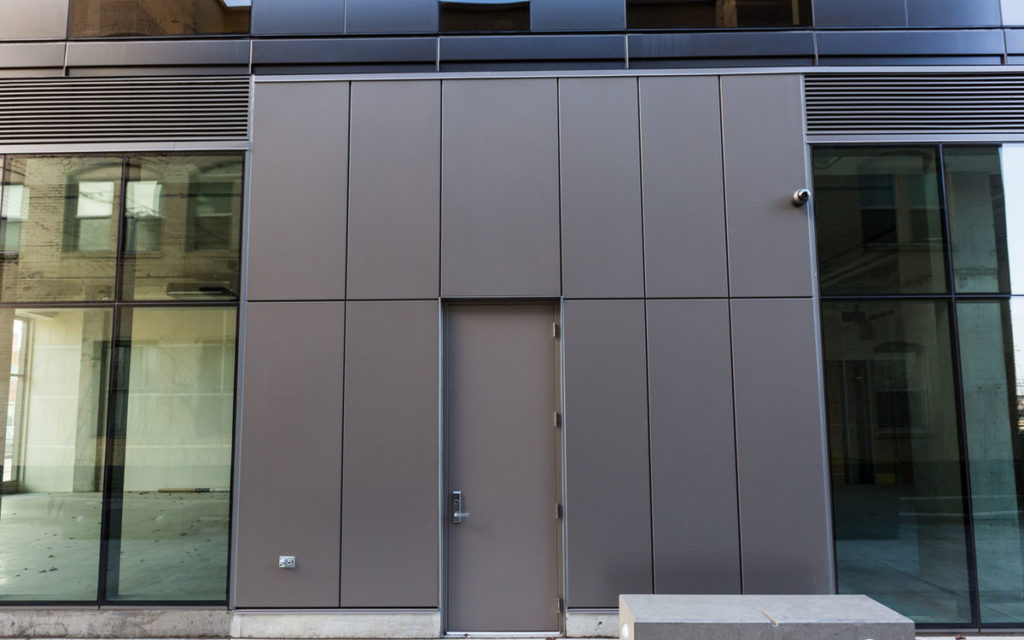
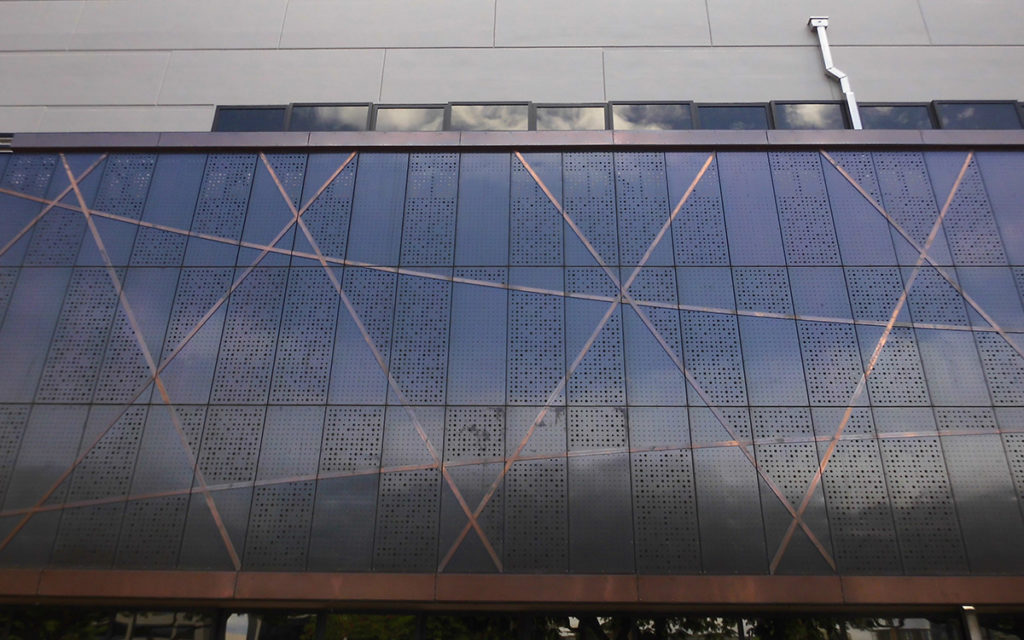
NorthClad® EF panels require the edges to be bent over the core. Shearing is appropriate for aluminum; any sharp edges should be smoothed off. Cutting with fixed machines, rotating tools, and moving tables produces the best quality edges on composites.
Panels are available cut and drilled by NorthClad® and may also be cut in the field; the method will depend on the panel material selected. Please inquire for cutting instructions for your specific material.
Panels should be drilled over a back plate with type HSS drills. Drilling speed should be reduced for larger diameter holes.
With EF panels cut, drilled, and prepared for installation over intact waterproofing on the wall, the installer is ready to install the rainscreen support system.
Installing the Panels
- Inspect and inventory sub-framing, fastener and panel deliveries upon arrival. Check the parts against your shop drawings.
- A level and plumb plane is required for the installation of the panels. The substrate must be plumb and square.
- The installer may use hard plastic shims between the vertical sub-framing and the wall surface if necessary.
- The installer must properly layout sub-framing based on panel sizes, hole locations, and coordinate with hard reference points such as windows, doors, and corners. The installer will need to field measure and verify actual project conditions, and make any necessary changes prior to fabrication. Allow for thermal and moisture movement of 1/8 inch per 5 feet of length, typically. A minimum gap of 3/8 inch must be maintained from the edges of all panels to allow for thermal movement. Sub-framing anchors must engage in the intended support system, typically at 24 inches on center. With a framed substructure, there are three design options:
- The vertical supports coincide with vertical framing members.
- There is horizontal blocking between the framing members.
- The sheathing has sufficient pull-out to support the installation of the vertical supports irrespective of the framing members (e.g. Exterior plywood).
- Start by installing the bottom vent strip and top closures. Note that the panels should not be used as roofing or in any position where they are in direct contact with ground moisture. Also, vent space is required under window sill flashing and under coping.
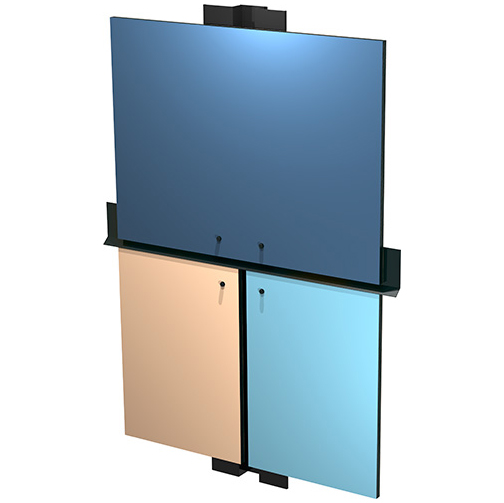
- Lay out and fasten the vertical supports to coincide with the location where the panels are face-fixed to the vertical channels (Fig. 1). The vertical joints will appear totally open and water can readily penetrate between the panels much of which will be deflected by the channels before reaching the WPM.
Horizontal joints between square edge boards are closed using the EF horizontal joint closure provided by NorthClad® (Fig. 2). The purpose of this closure is to minimize insect nesting and deflect water. The closure should be installed at all horizontal panel joints. - Caution should be used at areas of discontinuity (e.g. Expansion joints, anchor penetration points.). At no point can sub-framing extend over/across expansion joints. Dissimilar load bearing wall assemblies will require a break in the sub-framing. Sub-framing components should be installed vertically and the installer must allow for independent thermal expansion and contraction. Lay channel sections together to achieve the desired length of channel, making sure to align all sub-framing joints with the panel joints. Leave at least 1/4 inch between channel sections to accommodate for building movement. (Some installations may require additional precautions for thermal movement. Please check your project specification or contact us directly for assistance.)
- Ventilation spaces should allow for uninhibited vertical airflow. Every linear foot of horizontal opening (including vent screens, flashings, parapet caps, etc) should have at least 2.36 square inches per foot of ventilation between every uninterrupted vertical cladding section.
- Establish a level starting position and use removable shims or blocking when setting panels to ensure proper joint spacing. Joints shall be of equal gap or in accordance with shop drawings. When installing, ensure that the correct orientation is used for each panel.
- Place panel on the wall and temporarily secure its position with shims, blocks, or clamps. Ensure that the panel fasteners are properly centered in panel holes. Each panel should have one fixing point (a smaller hole than the others) that controls the point of expansion and contraction (Fig. 3). All fixing points should align with the surrounding panels. Fixing holes must be located not less than 20mm and not more than 40mm from the panel edges. Corner fixings should be located not more than 40mm from either edge. Do not over tighten the screws as stripping or shearing the fastener head might occur. NorthClad® provides engineering services on a separate contract basis. It is normally the project structural engineer’s responsibility to confirm size and frequency of attachments. The panels are not designed to support any vertical loads. If any heavy objects are to be supported by the panels, or if they are to be subject to extra mechanical stress, additional measures may need to be taken. As such, please contact us directly for assistance.


